Better Retention in 5 Steps!
by Sebrena Krywulak
·
You receive a text from your client *DING* you check your phone and your heart DROPS. “All of my lashes are falling out”. Panic starts to set in, but don’t let that self doubt creep in.
This has happened to nearly all of us at some point in our careers. Retention woes can happen because of application, or your client’s lash care at home.
Today we are sharing our top 5 steps to achieve better lash retention!
Lash Extensions Don’t Stick to Dirty Lashes
When a lash artist asks us why their client’s lashes aren't lasting, this is one of the first things we ask. Are you washing and priming the lashes before you begin your set? Even if your client’s lashes “look” clean, they still produce oil or could have residual makeup on their lashes making your job much more difficult. We recommend starting every clients appointment with a lash bath with our Rinse + Repeat lash shampoo and then priming the lashes prior to application!
Use More Adhesive
Less is more? Not here! If you’re struggling with retention, try using more adhesive! Not using enough glue will prevent the lash from achieving the best bond with the natural lash. This will cause it to fall off prematurely. We recommend 1-2 beads of glue for Classic lashes, and 1 bead for Volume extensions.
Tip: Use more adhesive on your ‘cross over’ side, because it takes you longer to get there! (Right handed artists, this would be the left eye!)
Super Bonder Saves the Day
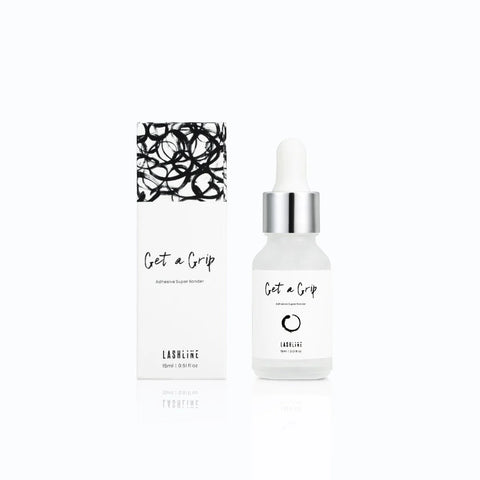
Super Bonder is applied after you have completed the lash service. It works to add flexibility to your adhesive. Move flexibility equals less breakage. It can actually increase retention up to 30%. It is also great for clients who are sensitive because it locks in the glue fumes and can help to prevent tearing.
Attachment and Placement
Proper attachment and placement are KEY to better retention. If your bases are not 100% attached, this can be the perfect place for dirt, oil and dust to settle. When your bases are lifted, they will snag and pop off when your client goes to brush them.
When applying your lash extension, press down when you place it. This will allow the fan to wrap around and hug the natural lash. You should aim for at least 2mm of the eyelash extension to be attached to the natural lash (more when possible)! The more bonding area, the stronger the attachment!
Educate Your Clients on Proper Aftercare
If you have gone through all the above steps and you are still having retention issues, go back and revisit your clients aftercare. Ask them how they are maintaining their lashes at home. Are they picking or pulling at their lash extensions? Are they washing everyday with a lash cleanser?(Rinse + Repeat Lash Shampoo) What kind of products are they using (all products should be oil free). Do they sleep on their face? Sometimes the smallest habit can reveal a lot about why their lashes aren’t lasting!
There are a few more important tips when troubleshooting retention:
Make sure you are using the best adhesive for your skill level and environment
Replace your glue dot every 10 minutes
Replace your adhesive every 4-8 weeks (if you notice the consistency is changing it is time to replace the bottle)
Use a hygrometer to monitor the temperature and humidity in your lash space

It’s not enough to just tell your client to “wash their lashes” - education is so important! Demonstrate how to properly wash their lashes, how much lash shampoo to use, and how long to wash for. You can even print out a client aftercare card with detailed instructions on how to care for their extensions at home!
As mentioned above, there are so many factors that can affect your lash retention! Focus on the areas you do have control over like the humidity and temperature of your lash space, your placement and attachment, and educating your clients on aftercare.
We hope these tips help you to increase your lash retention and keep your clients coming back for years to come!
You’ve got this!

